“Modeling a Mechanical model tutorial”
Mohd Nazri Bin Idris
D20111047289
Modeling a Mechanical Model
Planning stage :
-Modeling a Head
-Modeling a Body
-Modeling Legs
-Accessories (bag)
-Texturing
Image References
Front Side
The Process
1. Modeling a Head
a. Create
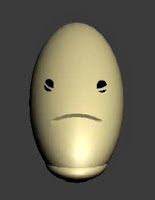
a Sphere from Standard Primitive selection. This will be the model basic shape
for its head.
b. Extrude the sphere and make it a bit long.
b. Extrude the sphere and make it a bit long.
The shape can be
edit by controlling the gizmo.
c. Then
we add an eyes to the model by using sphere, and to make it look like the model,
the eye need to be modify
by using Boolean. This can be found at compound object.
beside eyes, the nose
are also using the same method.
d. Next,
the eyes will be duplicate/clone by right clicking on the object or by simply
use
CTRL+C and paste CTRL+V.
e. The other parts of its head such as mouth and back head part are also using standard
e. The other parts of its head such as mouth and back head part are also using standard
primitive object such as
Box and Sphere.
2. Modeling a body
a.
The bodies components are create by using
standard object such as Box and Cylinder.
b.
Here is the component used, multiple object has
been combine to create each part.
left side of the model has been
dismissed to view the component used
c. Some of the part is created by
modifying object. For an example the” waist part”.
d.
Basic object used is a box and a cylinder
(bottom).
.
.
e .Firstly convert the part into Editable Poly(right
click).
To see it clearly, change the view to wire frame mode.
f. At
the section menu, click on vertex. From there the part can be modifying by
controlling the gizmo.
3. Modeling Legs
a. Legs
part are created by using Box and Sphere( joint).
b. Some of the part were edit by using Editable Poly.
4. Accessories (bag)
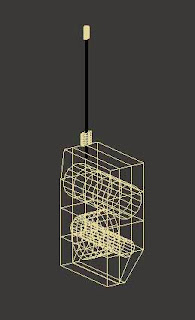
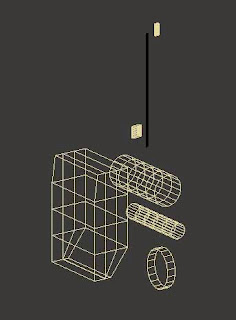
The bag is attached at the back of the model
a. Basic object used is Box and Cylinder.


4. Texturing
The model without texture
a. Open
Modifier (M).
b. Select Basic Shader Parameter, turn it to Metal, then at Metal Parameter
select Diffuse, pick a color.
c
To make it more realistic, adjust the
Spectacular Highlights and change
the number of the Level,and Glossiness.
the number of the Level,and Glossiness.
d. Drag
the color chosen into a model part.
Final Render


No comments:
Post a Comment
Note: only a member of this blog may post a comment.